How to 3D print a protein from a PDB file
From a PDB ID to an STL file, with ubiquitin and hemoglobin as the worked cases

Matic Broz, PhD12 min
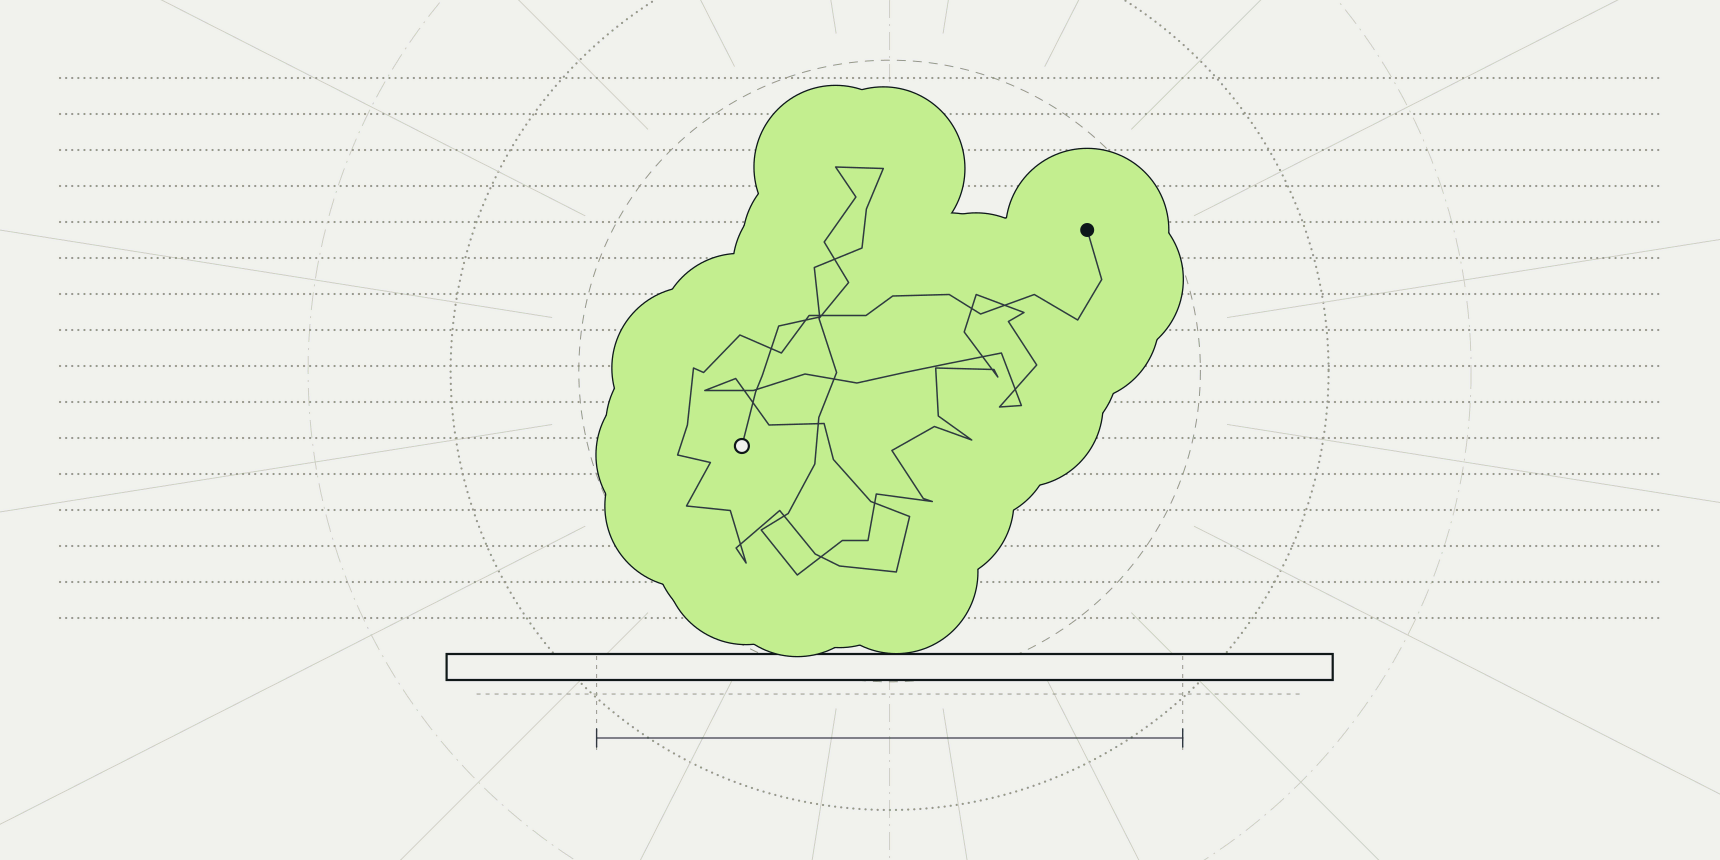
Ubiquitin measures 30 by 32 by 37 Å between its outermost atom centres. Print it with every ångström as a millimetre and you get a lump about 4 cm across, which fits in a palm and hides its fold. Print it at 5 mm per ångström and it is an 18 cm model that a class can pass around. The scale is the first decision in turning a protein into a physical object, and it is easy to change once you have a mesh.
To 3D print a protein, load its PDB entry into the PDB viewer, show it as a surface or as spheres, hide the water, and export the view with Export, then 3D model as an STL file. Open that file in a slicer, scale it, orient it and print. The viewer exports what is on screen as a mesh, so the choice of representation decides whether the print holds together.

Which representation prints
A printer builds a solid object, and a PDB file describes atoms. Something has to turn those atoms into a closed shape, and the viewer does it with whichever representation is switched on at the time of export. Its docs say it plainly: surfaces and spheres print as solid pieces, while cartoons and thin sticks snap without supports.
| Representation | What you get | Printability |
|---|---|---|
| Surface | One closed shell around the protein, with the grooves and pockets that the fold makes | Prints best; the easiest first model |
| Spheres | Every atom as a ball, bonded atoms overlapping | Prints well, and rougher, with a surface made of atom bumps |
| Sticks | Bonds as thin rods | Fragile; the rods are thin at any scale a desktop printer can hold |
| Cartoon | Ribbons for helices and strands, thin tubes for loops | Looks like the textbook picture, but the ribbons are thin and a loop can float free |
A cartoon is the shape people expect from a protein, so it is the one they try first, and it is the one that breaks. A ribbon is a thin sheet and a loop is a thin tube, so the model is mostly long spans with nothing under them. A surface has no such problem, because it is a closed shell with volume everywhere.
How to export a protein as an STL file
This route follows ubiquitin, 1UBQ, a 76-residue chain solved by X-ray crystallography at 1.8 Å resolution.[10] The PDB viewer fetches the entry by its ID, so no file download is needed.
- Open the PDB viewer, type
1UBQinto the search box and pressEnter. - Point at
Representationin the toolbar on the left of the canvas and switchSurfaceon. SwitchCartoonandSticksoff, so that only the surface is drawn. - Hide the water. The 58 crystallographic waters of 1UBQ are listed in the side panel and drawn as small red dots, and each one would be exported as a separate floating bead.
- Turn the molecule to the view you want, since the export keeps the model as it sits on screen.
- Click Export, open the
3D modeltab, leave Format onSTLand click Download STL.
The file is named after the entry, 1ubq.stl. The most common slip is exporting before the water is hidden: the print then comes out with loose beads on the bed, and a slicer shows them as dozens of tiny separate objects.
A binary STL stores 84 bytes of header and then 50 bytes per triangle, so the size of the file tells you the triangle count: subtract 84 and divide by 50. Ubiquitin is small, and a surface of a larger complex makes a file that is many times heavier, which matters when a slicer has to load it.
Scale and size
The coordinates in the exported file are the structure's own coordinates in ångströms, with the model centred on the origin. An STL file carries no unit, so a slicer that reads its numbers as millimetres shows the model at 1 mm per ångström, which is far too small for most uses. Check the size the slicer reports after loading, and set it yourself.
| Structure | Atom-centre extent (Å) | Longest side at 1 mm per Å | At 2 mm per Å | At 5 mm per Å |
|---|---|---|---|---|
| Ubiquitin, 1UBQ | 30.0 × 31.5 × 36.6 | 37 mm | 73 mm | 183 mm |
| Hemoglobin, 4HHB | 67.0 × 57.2 × 57.3 | 67 mm | 134 mm | 335 mm |
The 4HHB column answers a practical question: a hemoglobin tetramer at 5 mm per ångström is a third of a metre long, larger than most desktop printers can build. Two to three mm per ångström is the range that fits a build plate and still shows the shape, and it gives ubiquitin a hand-sized model at the top of that range.
Scale also decides which details survive. An atom has a radius of roughly 1.7 Å for carbon,[9] so at 1 mm per ångström the smallest bumps on a surface are only a millimetre or two across, and a printer cannot reproduce them cleanly. The narrowest parts of a protein, such as the flexible C-terminal tail of ubiquitin, are where a small print fails first. If a part is too thin to print, increase the scale before changing anything else.
STL, OBJ or glTF
The 3D model tab offers three formats, and they differ in what they keep.
| Format | Colours | Use it for |
|---|---|---|
| STL | None; geometry only | Slicers and single-colour printing |
| OBJ | Yes, in a zip with its material file | Colour renders, and software that reads materials |
glTF (.glb) | Yes, in one file | Blender, the web and augmented reality |
Print an STL unless you have a reason not to. Colour is the usual reason, and it needs both a file that holds colour and software that reads it. PrusaSlicer, for one, reads OBJ geometry and ignores its material and texture information,[1] so an OBJ made in the viewer prints as a single colour there.
NIH 3D recommends STL for monochrome 3D printing and WRL for full-colour powder bed printing,[7] which is the route for a print service that builds in colour. The viewer does not write WRL, but ChimeraX does (see below).
A multicolour print on a desktop printer usually means one body per colour. In the viewer that means exporting one chain at a time, and there is a catch: each export is centred on the bounding box of what is shown, so STL files exported chain by chain do not line up when you load them together. Position them by hand in the slicer, or export the whole structure and split it in the mesh software.
Orientation and supports
A protein has no flat side, so the printer needs one. Rotate the model in the slicer until a broad part of the surface lies on the bed. In PrusaSlicer the Place on face tool does this: press F, or pick the tool from the left toolbar, and click a flat plane of the model to align it with the bed.[2] A surface made of bumps gives only small flat areas, so expect to choose a face that is merely flatter than the rest.
Overhangs need supports, and a protein has nothing but overhangs. In PrusaSlicer, supports are turned on under Print settings, then Support material, with Generate support material, and Support on build plate only keeps them off the model's own surface where it can.[3] Supports leave marks on the finished surface, so choose the orientation that puts them in the grooves and not on the face you want people to see.
Slicing the file
Any slicer works. This section uses PrusaSlicer, which reads STL.[1]
- Open the STL file in PrusaSlicer.
- Check the size the slicer shows for the object, and scale it to the size you want with the Scale tool (
S).[4] - Press
Fand place the model on a face. - Switch on Generate support material in Print settings.
- Slice the model and send the G-code to your printer.
Exporting from PyMOL and ChimeraX
PyMOL and ChimeraX can both write meshes. ChimeraX saves 3D objects as glTF, STL, OBJ, X3D, VRML and VTK, chosen by the file suffix, so save ubiquitin.stl writes an STL of what is shown, and its VRML output is described as intended for 3D printing.[5]
The PyMOL wiki lists .obj, .wrl and .dae among the formats that save detects and does not list .stl, though the page was last edited in 2016. Open its OBJ in mesh software such as Blender and export an STL from there.[6]
If you would rather not prepare a mesh at all, NIH 3D generates models from PDB, AlphaFold, PubChem and EMDB entries and repairs the mesh to make it watertight.[7] The RCSB PDB keeps a list of such resources.[8]
Printing a bigger model of hemoglobin
Hemoglobin, 4HHB, is four chains and four haem groups, solved at 1.74 Å.[11]
It has 4,384 protein atoms against ubiquitin's 602, and a longest side of 67 Å in the file's orientation. The steps are the same: load the entry, switch on Surface, switch off the other representations and hide the water. The difference is the hardware. At 2 mm per ångström the tetramer is 13 cm long, and its surface has deep crevices between the chains, so the print has many more overhangs than ubiquitin.
Colouring each chain differently in the viewer, using Color, then Chain, makes a good render, but colour does not reach an STL file. For a coloured print, see the format section above. Colour is still useful for the render you make before printing, and for the images you share afterwards.
Common mistakes
| Problem | Symptom | Fix |
|---|---|---|
| Water was visible at export | Loose beads or dozens of small objects in the slicer | Hide the water in the viewer and export again |
| Cartoon or sticks exported | Thin ribbons that snap when handled, or float free | Switch on Surface or Spheres and switch the rest off |
| Model too small | A 4 cm lump with no readable detail | Scale it in the slicer; use 2 to 5 mm per ångström |
| Colour expected from an STL | The print is one colour | Use OBJ or glTF in software that reads colour, or a service that prints WRL |
| Chains exported one by one | Parts do not line up in the slicer | Export the whole structure; each export is centred on its own bounding box |
| No flat face | The print wobbles or fails to stick | Place the model on its flattest face and add supports |
What to do next
The same scene can become a publication-quality figure with lighting and colour, or an animation that rotates it. If the model you want is a file on your own computer, how to open a PDB file explains the formats the viewer reads, and PDB download fetches an entry by its ID. A model with gaps or missing atoms prints with holes, so run PDBFixer first.
FAQ
Can you 3D print a protein?
Yes. A protein structure is a set of atomic coordinates, and any viewer that can draw a surface can turn those coordinates into a mesh. The printed object is a model of the shape, enlarged tens of millions of times, not a working protein.
How do you convert a PDB file to STL?
Open the file in the PDB viewer, show a surface, and use Export, then 3D model, then Download STL. ChimeraX does the same with save name.stl. A PDB file holds atoms and an STL holds triangles, so a representation has to be drawn between them.
Can I get an OBJ with colours?
Yes. Choose OBJ in the same dialog and the viewer saves the mesh with its colours in a zip with its material file. Not every slicer reads them; PrusaSlicer ignores them.[1]
What size should a printed protein be?
It depends on the printer and the use. For a hand-held model, 2 to 5 mm per ångström gives 7 to 18 cm for ubiquitin. Hemoglobin at the same scales is 13 to 34 cm, so check your build plate first.
Why does my print have holes or loose pieces?
Loose pieces usually come from water or ligand sticks that were still visible at export. Holes come from missing residues in the entry, which show as gaps in the surface. Check the structure in the viewer before you export.